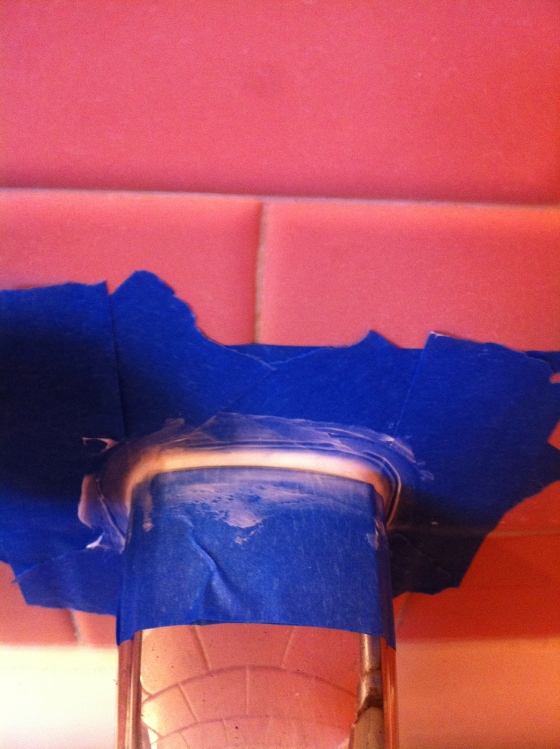
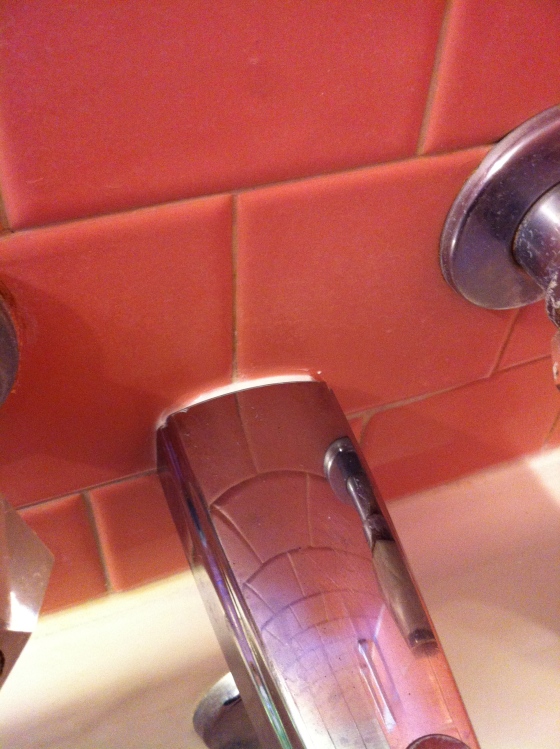
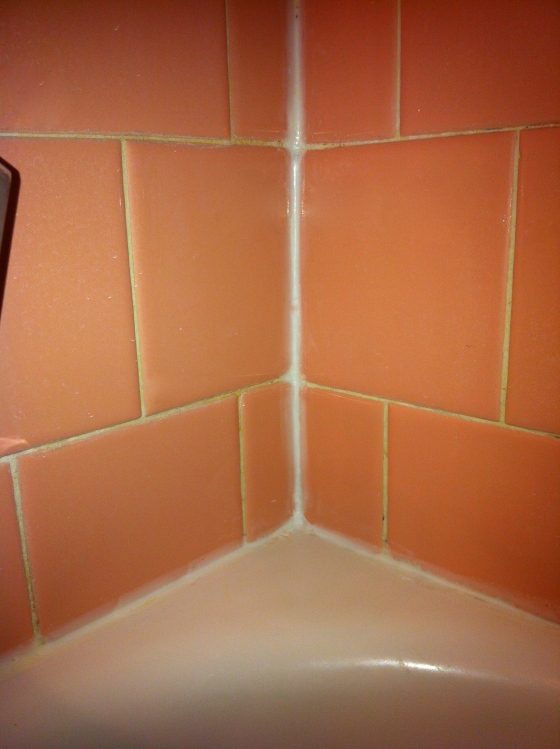
Soon after we moved in (2 years ago), I replaced the caulk around the entire upstairs bathtub, due to some mold/mildew issues and gaps between the caulk and tub. We used Dap Silicone Plus Premium Kitchen & Bath (make sure to use caulk specific for kitchen and bathrooms). But over time we began having issues with mold/mildew again in one of the corners of the tub and around the faucet. Around 6 months ago, I removed and re-caulked that area again, but the same issue came back. So I decided to tackle it once and for all, being careful to clean and hopefully remove any mold issues that were lingering behind the caulk.
Before removing the caulk I tried to clean it first using a method I had seen on Pinterest (found here). I took strips of bleach-soaked cotton and set it on the area. (The instructions said to use cotton beauty coils, but since I didn’t have any, I used cotton from a vitamin bottle and twisted it.) I don’t like to use bleach because of the fumes, but I was desperate and opened all of the windows in the house to air everything out.
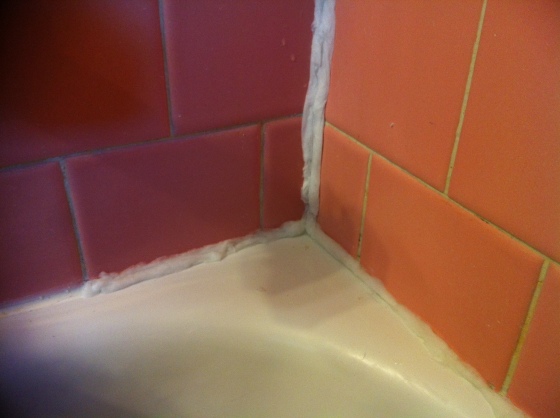
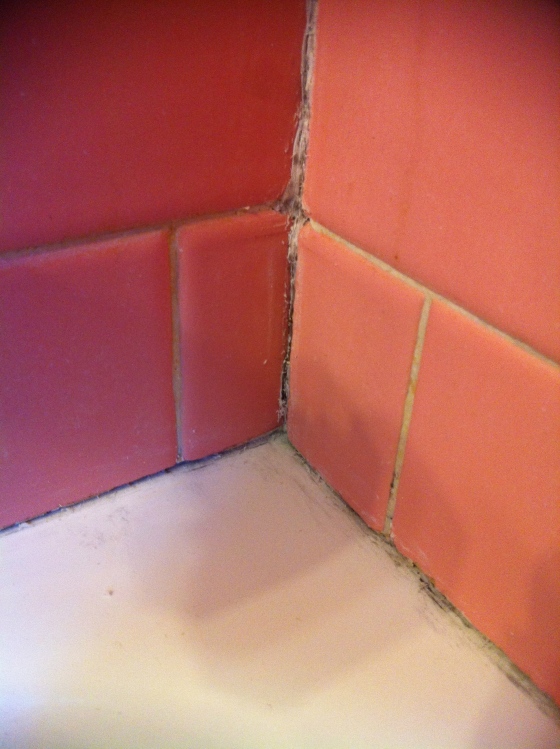
After soaking it for around an hour, there was still mold in the caulk, so I decided remove and replace it. Sorry I forgot to grab a true “before” picture, but here’s what it looked like after the cotton/bleach treatment. See the brown spot in the lower right hand corner of the first photo? Imagine more of that.
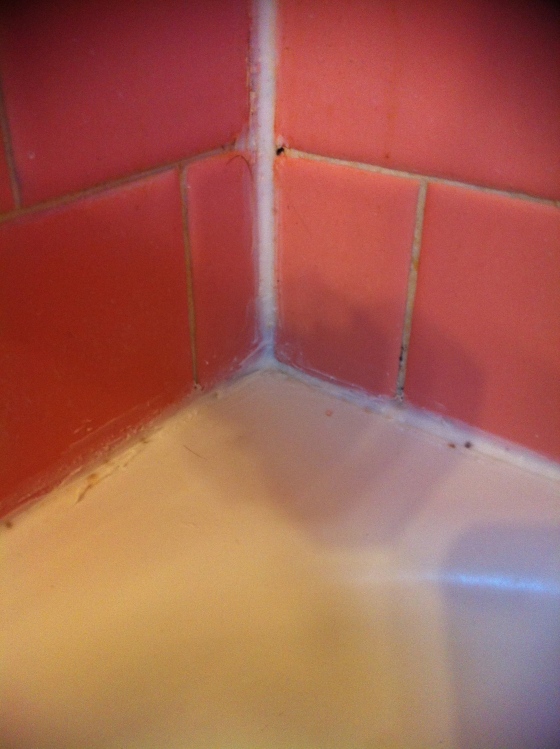
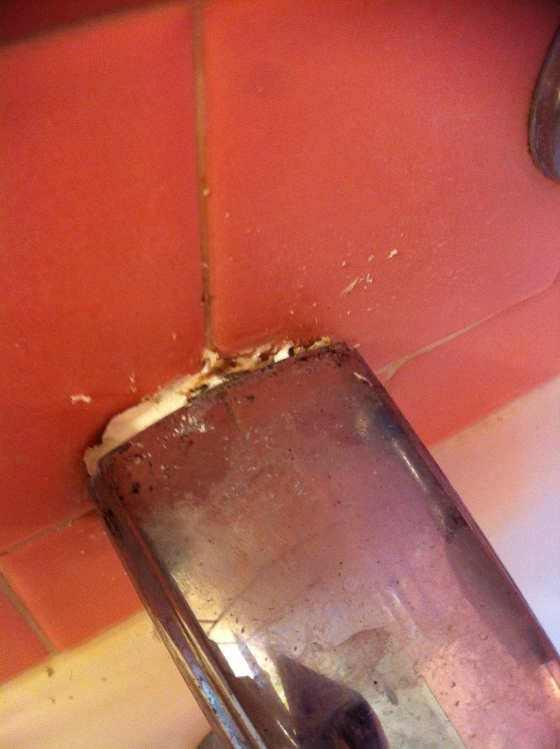
Don’t worry the gaps around the faucet weren’t that bad, I had started scraping before I remembered to take the picture.
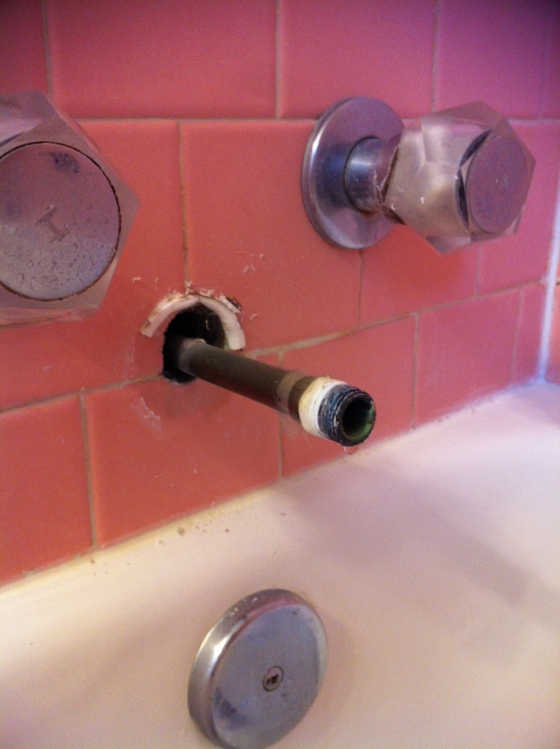
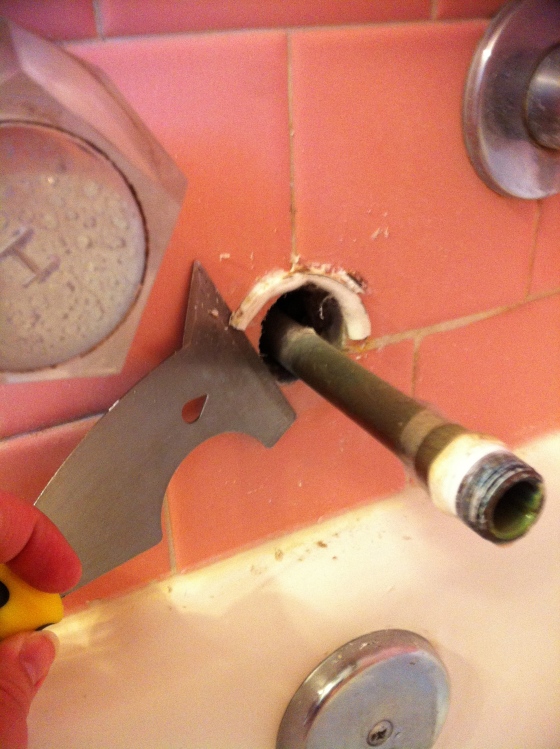
I removed the faucet by loosening the caulk and after some research found to remove it by unscrewing it (check with how your faucet is installed, some have to be unscrewed from the bottom)
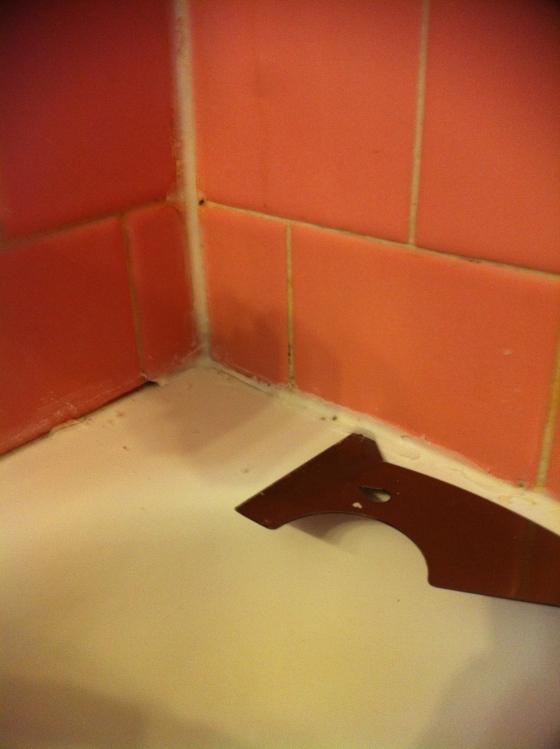
To remove the caulk I used a box cutter and a multi function blade.
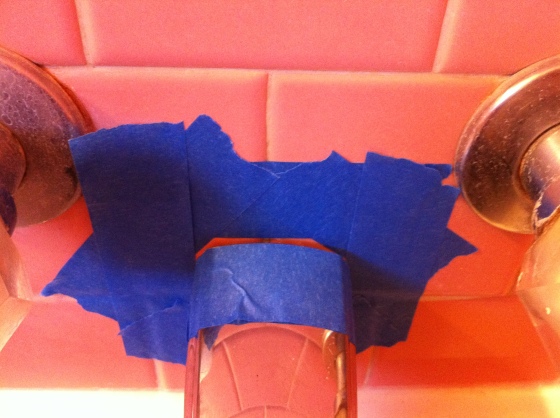
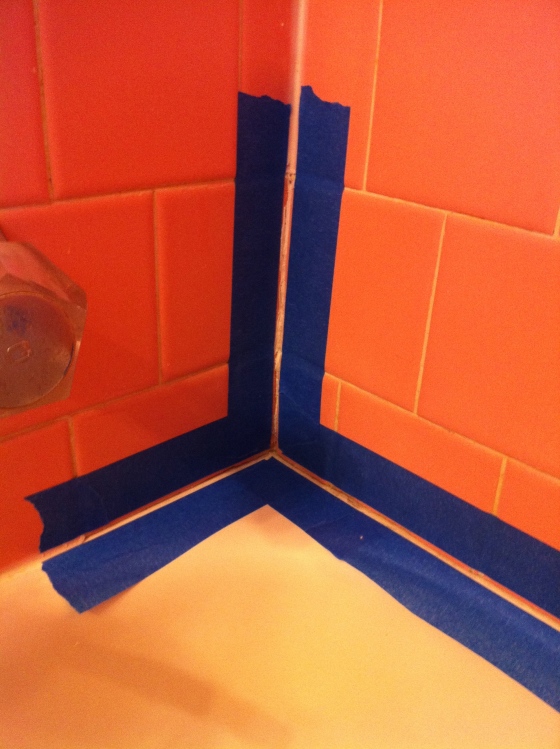
After removing the caulk from the areas I needed, I used the cotton/bleach treatment again. I let the area air out for about half an hour before caulking. Then I re-attached the faucet and sectioned off the all the areas I wanted to caulk using blue painters tape (a trick I read about on Young House Love). The painters tape helps you keep a nice straight line. Plus, you don’t end up with caulk where you don’t want it.
Then I just used the caulking gun to squeeze enough caulk into the taped off areas, smoothed it with my finger, and removed the painters tape before the caulk dried.
(This last photo is the most true to life color of the tile, it’s more salmon than pink.)
Hopefully our mold issue won’t return and our caulk will stay the sparkling white it is now. We’d still love to eventually gut and redo the entire bathroom but for now we’re working with what we’ve got. So there you have it: how to clean, remove, and replace caulk around your tub, or any caulked area for that matter.
