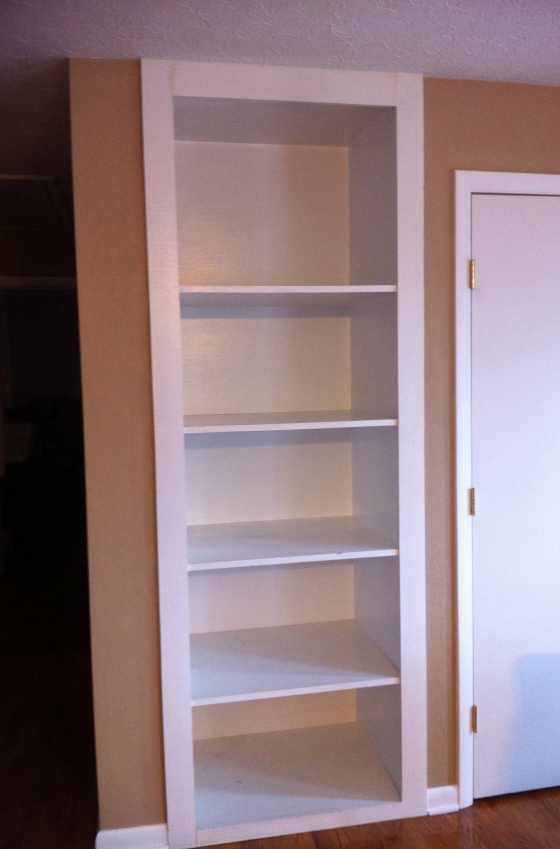
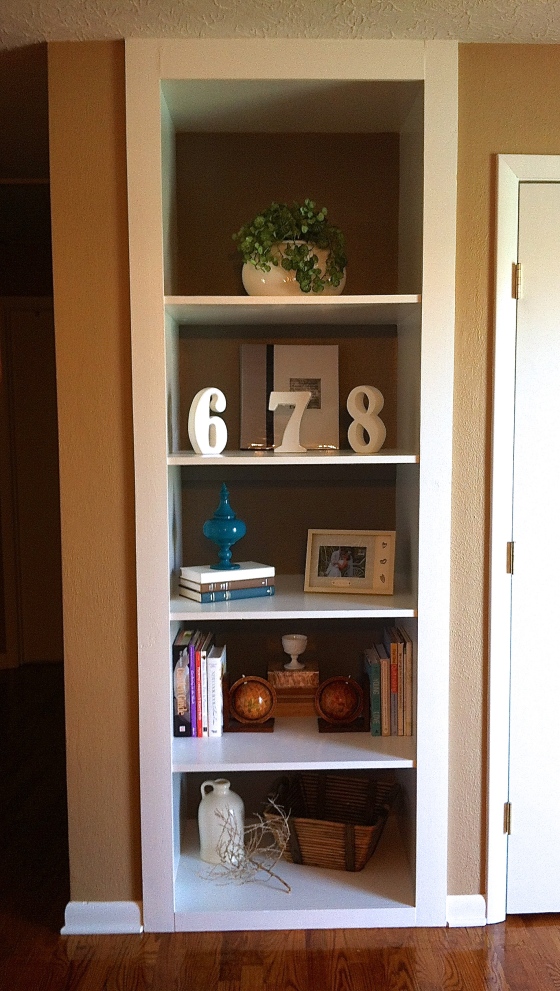
We finally got around to painting the built-in shelves in the living room. And we love how it turned out!
But before we get to the end result, let’s talk about how it all went down. After removing all of the items from the shelves…
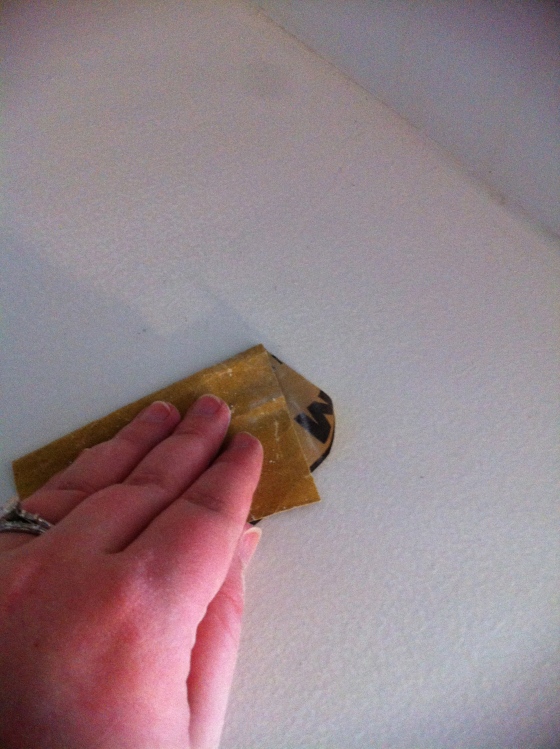
….we lightly sanded…
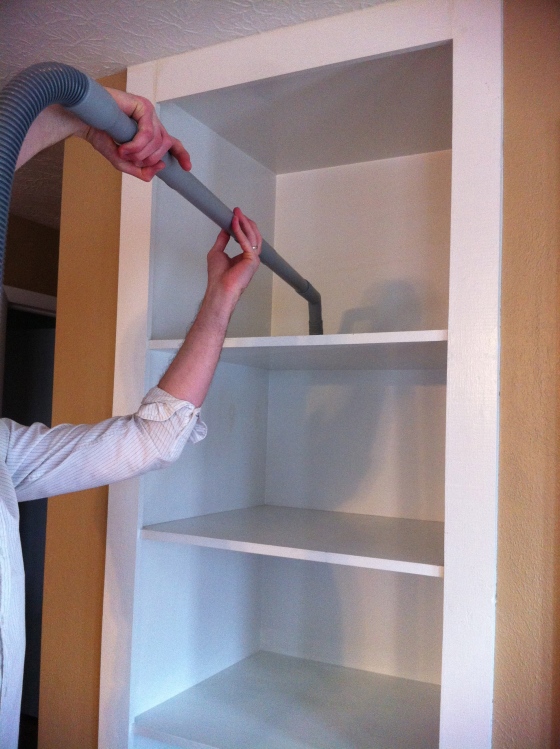
…vacuumed, and wiped down the shelves.
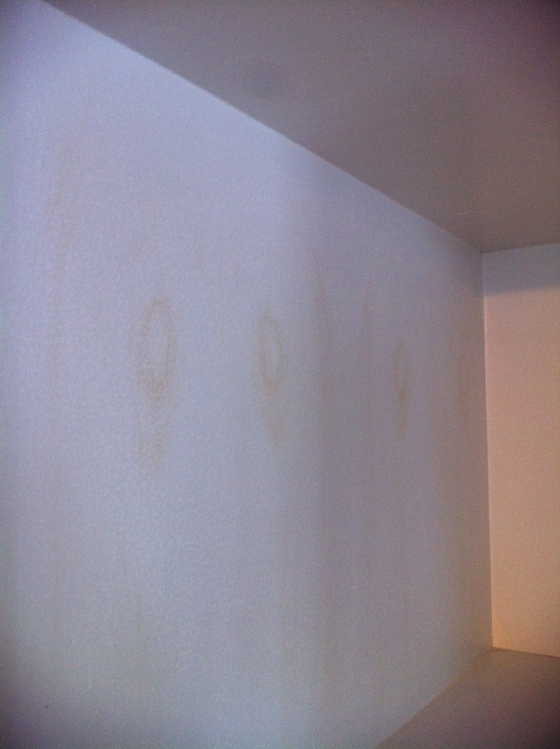
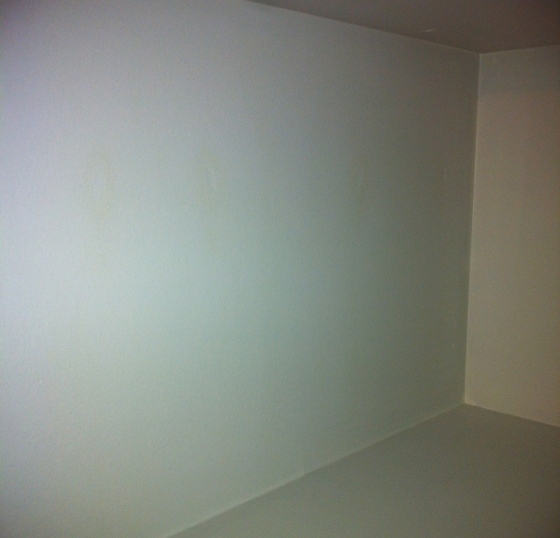
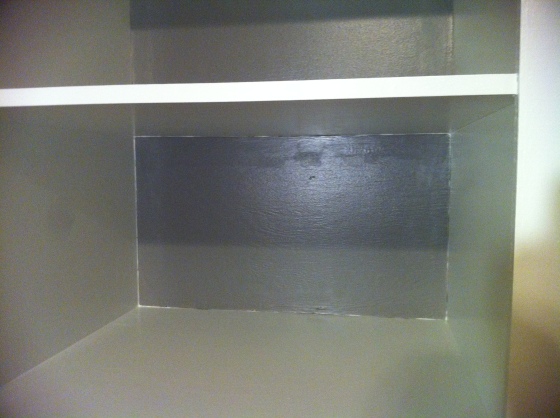
We wanted the shelves themselves to stay white, but since there were some stains bleeding through we decided to prime everything before painting.
We used KILZ 2 Latex Primer, which was recommended by an employee at Lowes. The instruction on the KILZ said to apply one coat of primer, then the paint and if there was still any visible bleeding to reapply. To be on the safe side (and hopefully avoid more work) we applied two coats of the KILZ. Even after applying the two coats of KILZ there was still some visible bleeding, but we decided to wait until we got some paint on there before panicking.
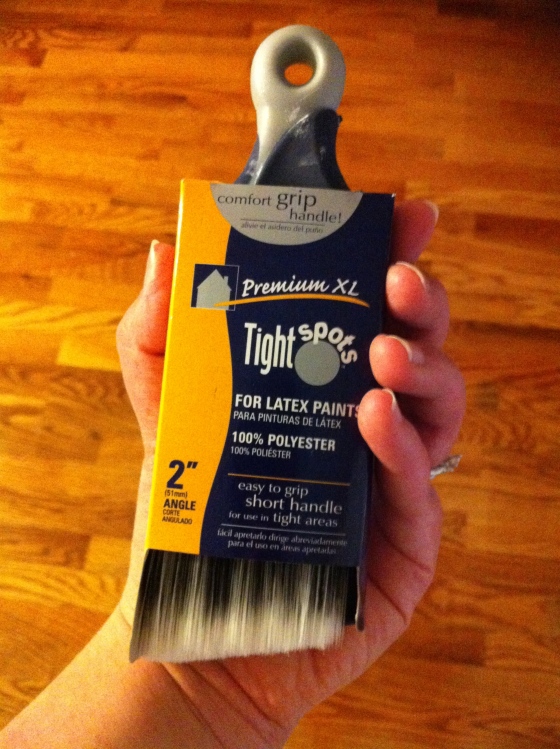
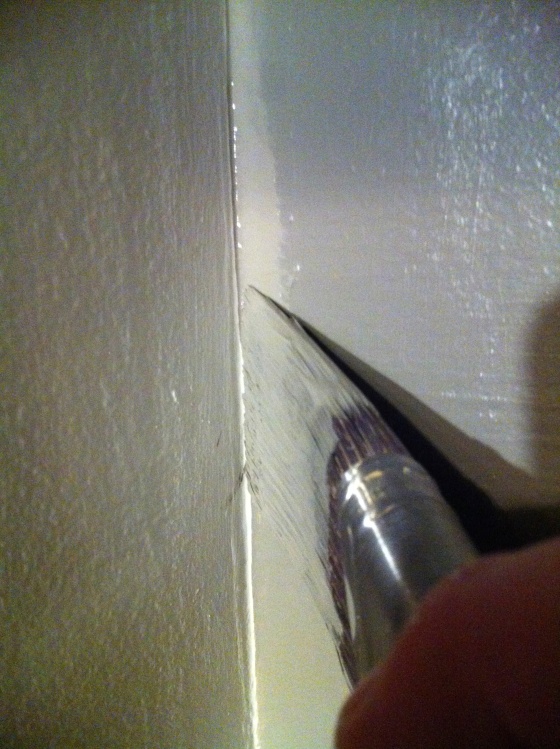
We didn’t have any small foam rollers on hand to use for painting and priming, so Ricky used a 12” roller for the back, sides, top, and bottom, then I cut in with a small-handled brush (which is great for cutting in).
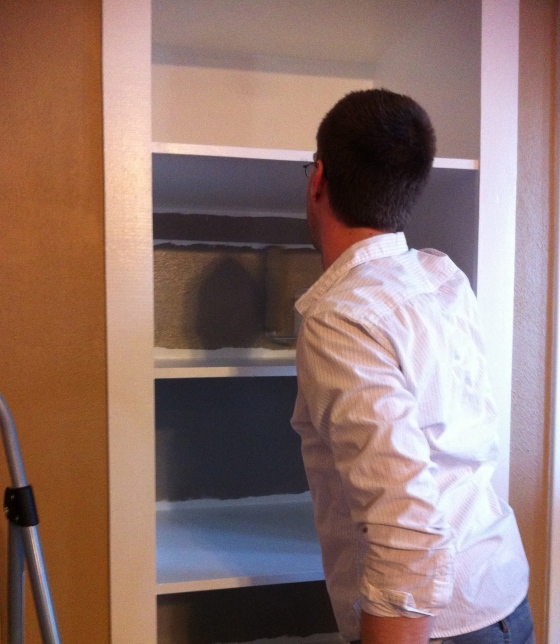
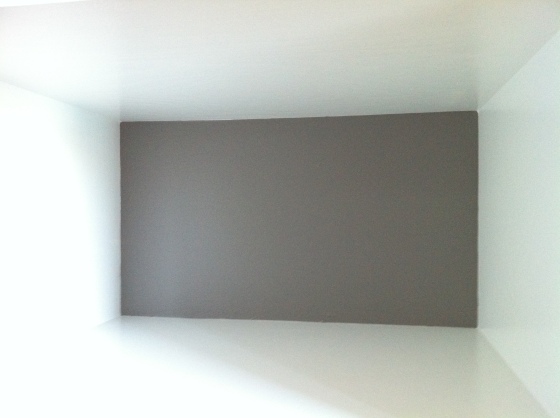
While the shelves themselves remained white, we wanted to add some contrast by painting the back ‘Dove Tail’. That’s the same color as the accent wall on the opposite side of the room, so we hoped it would bring balance to the room as well as add depth to the shelves.
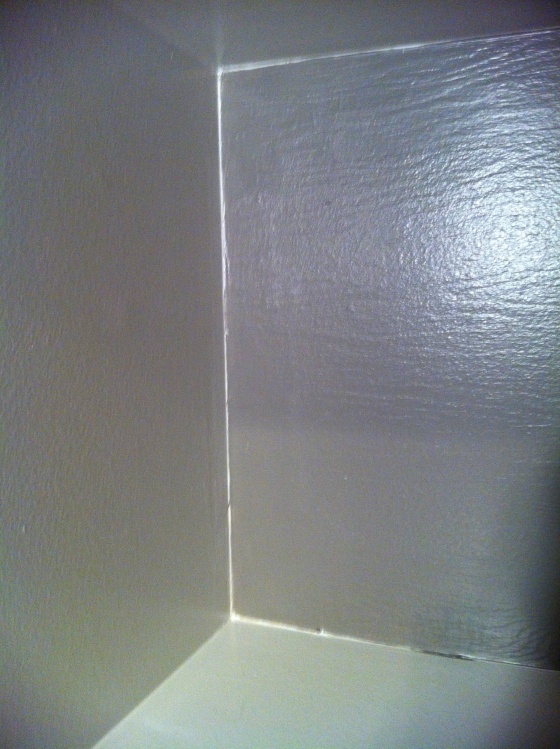
After Ricky had rolled the backs, I began cutting in. The first time I didn’t go all the way to the seams, but when we stepped back it didn’t look as clean as we’d like.
So I touched up all of the edges, being careful to go all the way to where the seams met.
I did go over the seams slightly in some areas, but it still had a better over-all look.
We let everything dry overnight before placing any items back on the shelves. It was probably around 24 hours of drying time for the bottom of the shelves, which was really the only area we were concerned with. Before I put items on the shelves, they looked super deep, which it made me a little nervous, but after everything was back on the shelves it looked perfect. I just collected items we has around the house (including what was on there before) and played around with the placement until I found something I liked.
We are in love with the result! (Why didn’t we do this sooner?) It was a quick and easy upgrade using items we had on hand. The shelves are great because we can easily change out items for seasonal decorating while still maintaining the overall look in the room!
